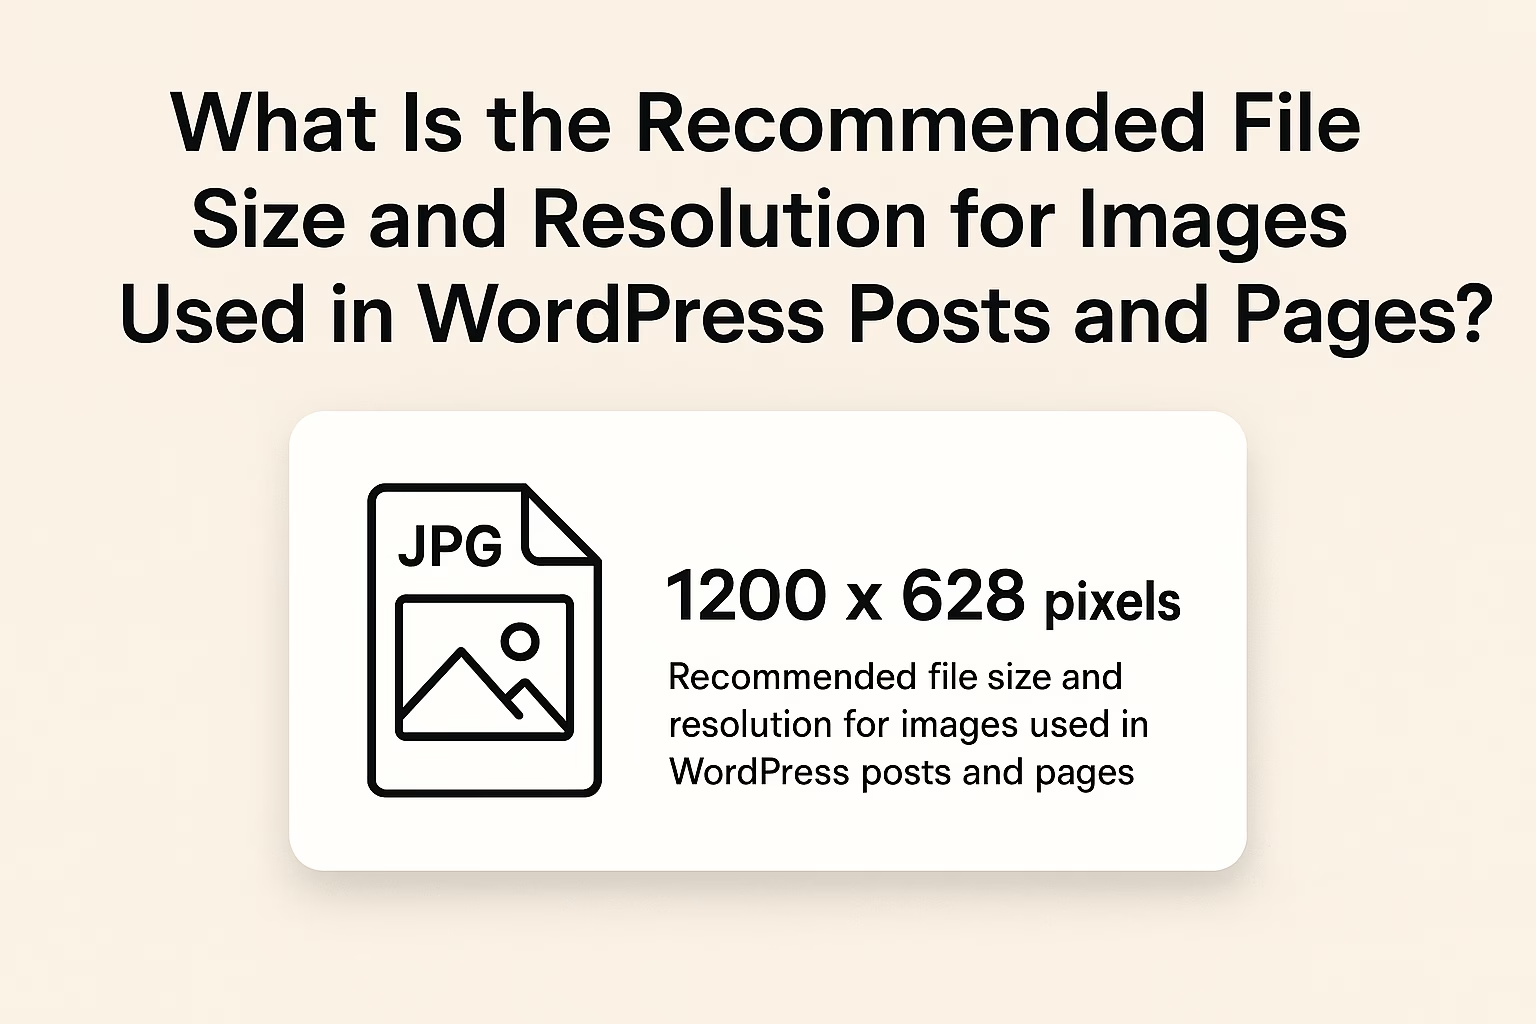
Ideally, images should be under 100 KB for regular content images to ensure fast loading without compromising quality. Larger images like hero banners can be up to 200-300 KB but should be optimized carefully.
Choosing the right image file size and resolution for your WordPress posts and pages is essential for maintaining fast loading speeds, delivering high-quality visuals, and improving overall SEO performance. In this guide, we’ll explore the recommended dimensions and file sizes for different types of images—such as featured images, blog post visuals, and background banners. You’ll also learn practical tips on image compression, formats (JPEG, PNG, WebP), and tools to optimize images without sacrificing quality. Whether you’re a blogger, business owner, or developer, this post will help you enhance your WordPress site’s performance and user experience through smarter image optimization.
Why Image Optimization Matters in WordPress
Improves Website Loading Speed
Large image files can significantly slow down your website, leading to poor user experience and higher bounce rates. Google’s PageSpeed Insights tool highlights unoptimized images as a common issue. You can test your site speed here. Optimizing your images can greatly enhance loading speed, especially on mobile devices.
Enhances WordPress SEO Performance
Search engines prioritize fast-loading sites. Optimized images contribute to better Core Web Vitals scores, which directly impact your ranking. Also, using descriptive alt text for images boosts image search visibility—learn how in our guide to on-page SEO for WordPress.
Reduces Hosting and Bandwidth Costs
High-resolution, uncompressed images consume more server space and bandwidth. This can lead to higher hosting costs and slow performance during traffic spikes. Optimizing images allows you to serve high-quality visuals without straining server resources.
Improves User Experience on Mobile Devices
More than half of web traffic comes from mobile users. Optimized images load faster, adapt better to different screen sizes, and prevent layout shifts—improving mobile usability and retention. Consider using responsive images with srcset to serve the right image size based on the device.
Supports Better Website Accessibility
Alt text and descriptive filenames not only help with SEO but also improve accessibility for visually impaired users using screen readers. This makes your WordPress site more inclusive and aligns with WCAG accessibility guidelines.
Ideal Image File Size for WordPress Posts and Pages
Using the right image file size is crucial for maintaining a balance between fast-loading web pages and high-quality visuals. Oversized images are one of the top reasons for slow WordPress websites. While WordPress does support image compression, it’s essential to start with optimized file sizes before uploading. This section will help you understand the ideal file sizes for different types of content and how to manage them efficiently for better performance and SEO.
Recommended File Size for Blog Post Images
For images inside blog content, aim to keep file sizes under 100 KB whenever possible. This helps pages load faster, especially when posts contain multiple images. Tools like TinyPNG and Squoosh are excellent for compressing images before uploading.
Ideal Size for Featured Images and Thumbnails
Featured images should balance quality and speed—keeping them under 200 KB is a good practice. WordPress usually resizes thumbnails automatically, but it’s important to upload properly scaled versions. You can define custom thumbnail sizes in your functions.php file.
Banner and Background Image Size Guidelines
Full-width hero banners or background images often need higher resolutions, but still should not exceed 500 KB. Consider using lazy loading for these images, which WordPress supports natively since version 5.5. This defers loading of large visuals until they’re needed, improving initial page speed.
Using the WebP Format to Reduce File Sizes
WebP is a modern image format supported by most browsers and recommended by Google. It offers smaller file sizes with similar or better quality than JPEG or PNG. WordPress now supports WebP natively, and you can use plugins like Imagify or EWWW Image Optimizer to convert images automatically.
Tools to Analyze and Control Image Size on Your WordPress Site
Use tools like GTmetrix or Pingdom to identify large images slowing down your site. For internal monitoring, plugins like Smush or ShortPixel can automatically compress new and existing images in your media library. For more advanced performance tuning, see our post on WordPress speed optimization techniques.
Recommended Image Resolution and Dimensions for WordPress
Choosing the correct resolution and dimensions for your WordPress images ensures that they display properly across devices without unnecessarily bloating your site. While WordPress automatically generates multiple image sizes when you upload a file, it’s best to start with appropriately sized images to begin with. Using the right dimensions and resolutions can improve design consistency, mobile responsiveness, and page speed—all critical for user experience and SEO.
Understanding Image Resolution: What Is DPI and Why It Matters?
DPI (dots per inch) refers to image resolution but is mainly relevant for print. For web, the standard is 72 DPI, which is sufficient for digital displays. Uploading high-DPI images (like 300 DPI) is unnecessary for websites and can increase file size with no visual benefit. For more detail, check out this explanation of DPI vs. PPI from Adobe.
Standard WordPress Image Dimensions You Should Know
WordPress automatically creates several default sizes when you upload an image:
- Thumbnail: 150×150
- Medium: 300×300
- Large: 1024×1024
- Full: Original uploaded size
You can customize these sizes in Settings > Media. For a detailed overview, see WordPress.org’s image sizing documentation.
Best Dimensions for Blog and Content Images
For images embedded in blog content, 800×600 or 1200×800 pixels is often ideal. These sizes are large enough for clarity but small enough to load quickly. Make sure your image width doesn’t exceed your content area’s width to avoid stretching or layout issues.
Ideal Hero Image and Full-Width Banner Dimensions
For banners or hero images spanning the full screen, use dimensions like 1920×1080 or 1600×900 pixels. These offer high clarity across modern monitors while still being optimized for loading speed. Tools like Canva offer templates in these resolutions for easy design work.
Responsive Image Dimensions for Mobile Optimization
Responsive design is essential today. Use srcset in your image HTML to serve different image sizes based on the user’s device. You can learn more about responsive images and srcset implementation in this Google Developer guide. Many modern WordPress themes handle this automatically, but it’s worth checking how your theme manages image scaling.
Best Image Formats for WordPress: JPEG, PNG, or WebP?
Choosing the right image format for your WordPress site can significantly impact load times, image clarity, and overall site performance. Each format has its strengths, depending on the type of content you’re displaying—photographs, graphics, logos, or animations. Understanding when to use JPEG, PNG, or WebP will help you deliver visually compelling content without compromising speed.
JPEG – Best for Photographs and Color-Rich Images
JPEG (or JPG) is the most widely used format for photographs due to its excellent compression capabilities and small file sizes. It’s perfect for blog post images, featured images, and photo galleries. However, JPEGs don’t support transparency and may lose quality when repeatedly edited. Learn more about JPEG compression from Adobe’s official guide.
PNG – Best for Graphics, Logos, and Transparent Images
PNG supports transparency and provides high image quality, making it ideal for logos, icons, screenshots, and images with text. The downside is larger file sizes compared to JPEG. Use PNGs selectively to avoid slowing down your pages. You can compress PNGs using tools like TinyPNG, which significantly reduce size without loss of clarity.
WebP – The Modern Format for Web Optimization
WebP is a next-gen image format developed by Google that provides superior compression and supports both transparency and animation. It’s supported by all modern browsers and is ideal for all types of images on WordPress. You can convert images to WebP using plugins like WebP Express or Imagify.
Comparing JPEG, PNG, and WebP: When to Use Each?
Here’s a quick comparison:
- JPEG: Great for photographs and blog visuals.
- PNG: Best for sharp graphics and transparent backgrounds.
- WebP: Perfect for overall site performance and versatility.
Still unsure? Use Squoosh to compare how your image looks in different formats and sizes before uploading it to WordPress.
Ensuring Browser Compatibility with WebP
While most modern browsers support WebP, a small percentage of older browsers may not. To handle this, you can use a fallback method—serve WebP with a fallback to JPEG/PNG using plugins like ShortPixel or Smush Pro. For more technical details, see Google’s WebP overview.
Tools and Plugins to Optimize Images for WordPress
Optimizing your images doesn’t have to be time-consuming—WordPress offers a wide range of tools and plugins that automate image compression, format conversion, and lazy loading. These solutions can significantly improve your site’s loading speed and SEO, while keeping image quality visually sharp. Whether you’re running a blog, eCommerce site, or portfolio, the following tools can make your workflow more efficient.
Smush – All-in-One Image Compression Plugin
Smush is one of the most popular WordPress image optimization plugins. It automatically compresses images on upload, offers lazy loading, and can bulk-optimize existing media files. Smush is especially user-friendly and includes performance insights to help speed up your site.
ShortPixel – Compress and Convert Images to WebP
ShortPixel offers powerful image compression and supports WebP conversion. It works with media library images, theme images, and even WooCommerce product photos. With both lossy and lossless options, it’s ideal for users who want control over optimization levels.
Imagify – Built by WP Rocket Team
Imagify is a plugin developed by the creators of WP Rocket, a top caching plugin. It allows you to compress images and convert them to WebP with one click. Imagify integrates seamlessly with WordPress and is great for users focused on performance without sacrificing image quality.
TinyPNG and Squoosh – External Image Compression Tools
If you prefer compressing images before upload, tools like TinyPNG and Squoosh are excellent browser-based options. They let you manually compress images with real-time previews and advanced control over quality and file size.
Optimole – Cloud-Based Image Optimization
Optimole takes image optimization to the next level with cloud delivery and real-time resizing. It serves images via CDN (Content Delivery Network), adjusts image sizes based on screen resolution, and supports lazy loading. Optimole is great for media-heavy websites that need dynamic optimization.
Common Mistakes to Avoid When Uploading Images to WordPress
Uploading images without proper optimization or strategy can lead to slow website performance, poor user experience, and lower search engine rankings. Many WordPress users make avoidable errors that impact both site speed and visual quality. This section highlights the most common pitfalls and offers practical tips to ensure your images contribute positively to your website’s overall health.
Uploading Large, Uncompressed Images
One of the biggest mistakes is uploading images that are too large in file size. Large images increase page load times, which can frustrate visitors and hurt SEO rankings. Always compress your images before uploading using tools like TinyPNG or plugins like Smush. Avoid relying solely on WordPress’s default compression, as it may not be enough for optimal performance.
Ignoring Proper Image Dimensions and Aspect Ratios
Uploading images without considering their dimensions can cause them to appear stretched, blurry, or improperly cropped. Make sure images are sized appropriately for their use case—whether it’s a thumbnail, featured image, or banner. Maintaining consistent aspect ratios keeps your site looking professional and prevents layout shifts.
Forgetting to Add Alt Text and Descriptive Filenames
Alt text is critical for SEO and accessibility. Skipping it means search engines have less information about your images, and users with screen readers can’t understand your content fully. Use descriptive filenames and meaningful alt text that include relevant keywords to improve your site’s SEO and accessibility compliance.
Final Thoughts
Optimizing images for your WordPress posts and pages is essential for creating a fast, visually appealing, and SEO-friendly website. By paying attention to the ideal file sizes, resolutions, formats, and using the right tools and plugins, you can significantly improve your site’s performance and user experience. Avoid common mistakes like uploading oversized images or neglecting alt text to maximize the benefits of your visuals.
Remember, a well-optimized image not only enhances the aesthetic appeal of your site but also contributes to faster loading times and better search engine rankings. Take advantage of modern formats like WebP and leverage powerful optimization plugins to keep your WordPress site running smoothly and efficiently.
If you want to dive deeper into WordPress optimization or need help implementing these tips, feel free to explore our other guides or reach out for expert advice.
Need help rebuilding your layout? Contact me and I’ll help you get your site back on track.


