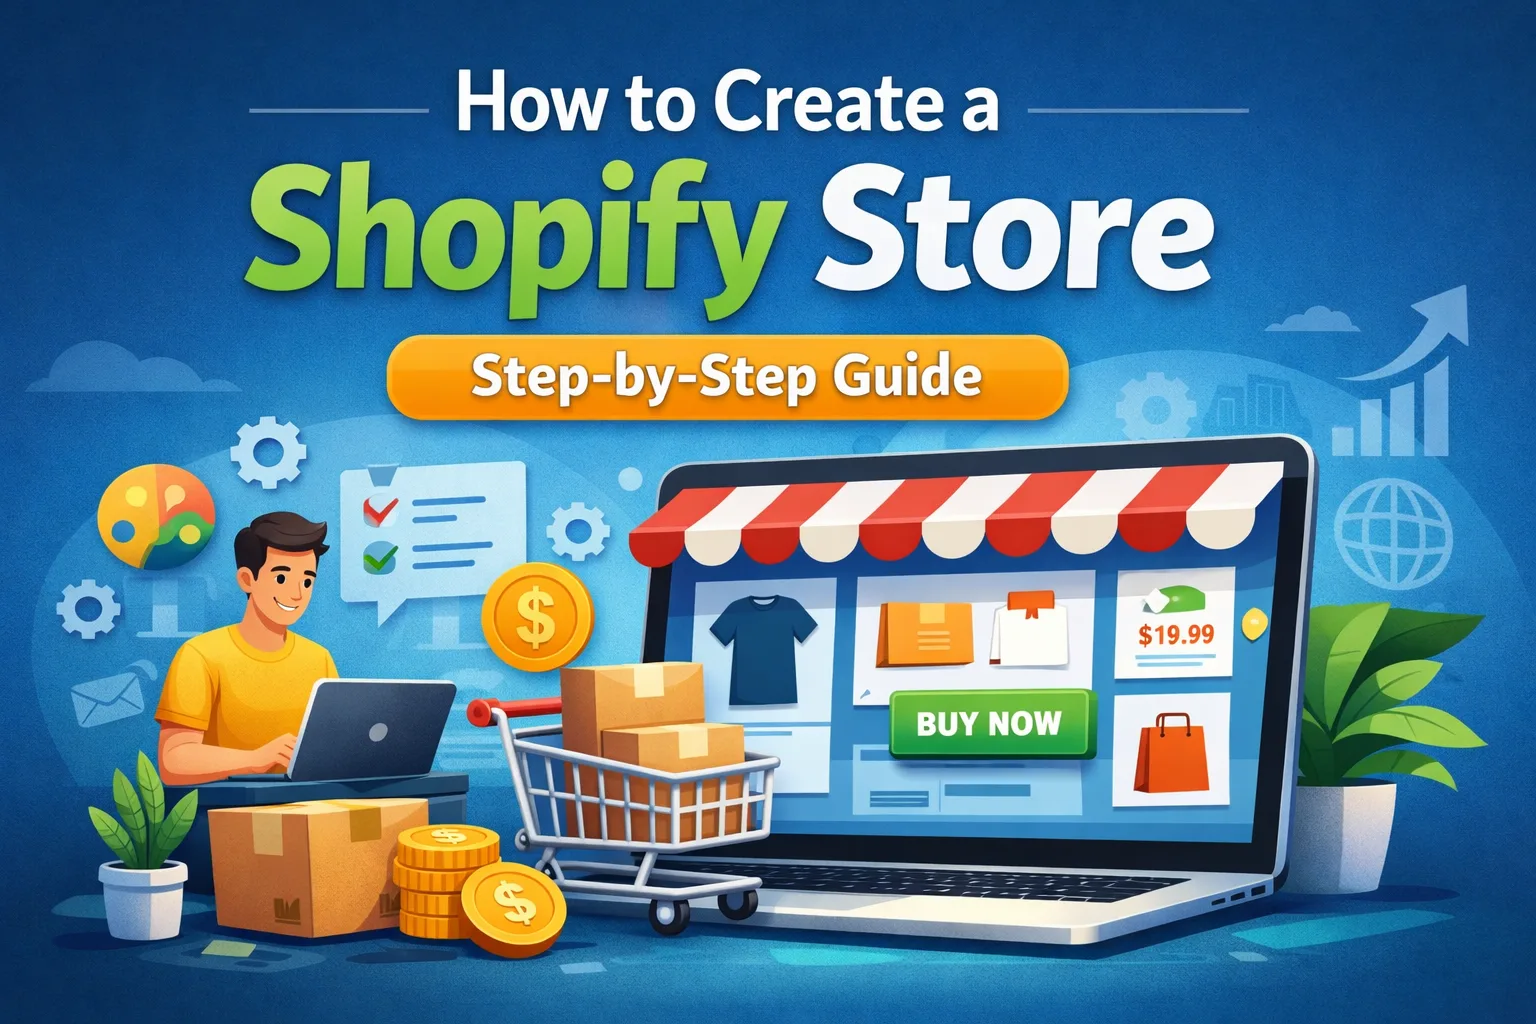
To create a Shopify store, you need an email address, a store name, products to sell, and basic business details. No technical or coding skills are required.
Starting an online business has become easier than ever, and Shopify is one of the most popular platforms for launching an eCommerce store. If you’re searching for how to create a Shopify store, this complete guide will walk you through everything step by step — from setting up your account to launching your store live.
This guide is designed for beginners, small business owners, and anyone who wants to start selling online without technical headaches.
What Is Shopify?
Shopify is a hosted eCommerce platform that allows you to create, customize, and manage an online store without coding knowledge. It handles hosting, security, payments, and scalability, so you can focus on selling your products.
Why Choose Shopify?
- No technical skills required
- Secure hosting included
- Easy product and order management
- Multiple payment gateways
- Thousands of apps and themes
Step 1: Sign Up for a Shopify Account
To begin, visit the official Shopify website:
- Enter your email address
- Create a password
- Choose a store name
- Answer a few setup questions
Once completed, Shopify will take you to the admin dashboard.
Step 2: Choose Your Store Name & Domain
Your store name represents your brand, so choose wisely.
Tips for Choosing a Store Name
- Keep it short and memorable
- Avoid special characters
- Make sure it’s easy to spell
- Check domain availability
You can:
- Use a free Shopify subdomain (yourstore.myshopify.com)
- Buy a custom domain directly from Shopify
- Connect a domain from another provider
Step 3: Select and Customize a Shopify Theme
Shopify themes control how your store looks.
How to Choose a Theme
- Go to Online Store → Themes
- Browse free or paid themes
- Preview themes before installing
- Choose one that matches your niche
Customizing Your Theme
You can customize without coding:
- Logo & brand colors
- Fonts and layout
- Homepage sections
- Product page layout
Shopify’s drag-and-drop editor makes this simple.
Step 4: Add Products to Your Shopify Store
Now it’s time to add what you’ll sell.
How to Add a Product
- Go to Products → Add product
- Enter product title and description
- Upload product images
- Set pricing and inventory
- Choose product category
- Save the product
Product Description Tips
- Focus on benefits, not just features
- Use bullet points
- Keep it clear and persuasive
- Add keywords naturally
Step 5: Organize Products with Collections
Collections help customers browse easily.
Types of Collections
- Manual collections (you choose products)
- Automated collections (rules-based)
Examples:
- New Arrivals
- Best Sellers
- Sale Items
- Category-based collections
Step 6: Set Up Payment Methods
Shopify supports multiple payment options.
Common Payment Gateways
- Shopify Payments
- Credit & Debit Cards
- PayPal
- Bank transfer (depending on country)
How to Enable Payments
- Go to Settings → Payments
- Activate preferred payment methods
- Complete verification details
Make sure to test payments before launch.
Step 7: Configure Shipping Settings
Shipping setup depends on where and how you sell.
Shipping Options
- Free shipping
- Flat rate shipping
- Location-based shipping
How to Set Shipping
- Go to Settings → Shipping and delivery
- Create shipping zones
- Add shipping rates
- Save changes
Clear shipping rules reduce cart abandonment.
Step 8: Set Up Taxes
Shopify can automatically calculate taxes in many regions.
Tax Setup Steps
- Go to Settings → Taxes and duties
- Enable tax calculations
- Review local tax laws
- Save settings
If unsure, consult a tax professional.
Step 9: Create Essential Pages
Every Shopify store needs trust-building pages.
Must-Have Pages
- About Us
- Contact Us
- Privacy Policy
- Terms & Conditions
- Refund Policy
Shopify can auto-generate legal pages:
- Go to Settings → Policies
- Edit and customize the text
Step 10: Add Navigation Menus
Menus help users move around your store.
Menu Types
- Main menu
- Footer menu
How to Edit Menus
- Go to Online Store → Navigation
- Add pages, collections, or products
- Arrange order
- Save changes
Keep menus simple and clear.
Step 11: Install Useful Shopify Apps
Apps add extra features to your store.
Popular App Categories
- SEO optimization
- Product reviews
- Email marketing
- Upselling & cross-selling
- Speed optimization
Install only necessary apps to keep your store fast.
Step 12: Basic SEO Setup for Shopify
SEO helps your store rank on Google.
Shopify SEO Basics
- Use keywords in product titles
- Write unique meta descriptions
- Optimize images with alt text
- Create SEO-friendly URLs
<title>How to Create a Shopify Store</title>
<meta name="description" content="Learn how to create a Shopify store, add products, customize design, and launch online.">
Step 13: Test Your Store Before Launch
Before going live, test everything.
Checklist
- Test checkout process
- Check mobile responsiveness
- Verify payment gateways
- Review product pages
- Proofread content
Fix issues before launching publicly.
Step 14: Launch Your Shopify Store
When everything is ready:
- Go to Settings → Plan
- Choose a Shopify plan
- Remove password protection
- Launch your store 🎉
Your store is now live and ready for customers.
Common Mistakes to Avoid
- Launching without testing
- Using low-quality product images
- Ignoring mobile users
- Installing too many apps
- Not setting clear policies
Avoiding these mistakes increases success chances.
Final Thoughts
Learning how to create a Shopify store is the first step toward building a successful online business. Shopify simplifies the entire process — from store setup to payments and order management — making it ideal for beginners.
With the right products, clean design, and proper setup, you can launch a professional store and start selling online confidently.
Need help creating your Shopify store?
Feel free to contact me for expert guidance, setup support, or a complete Shopify store solution.