You can use the WordPress Customizer or a plugin like Easy Google Fonts to change fonts without writing any code.
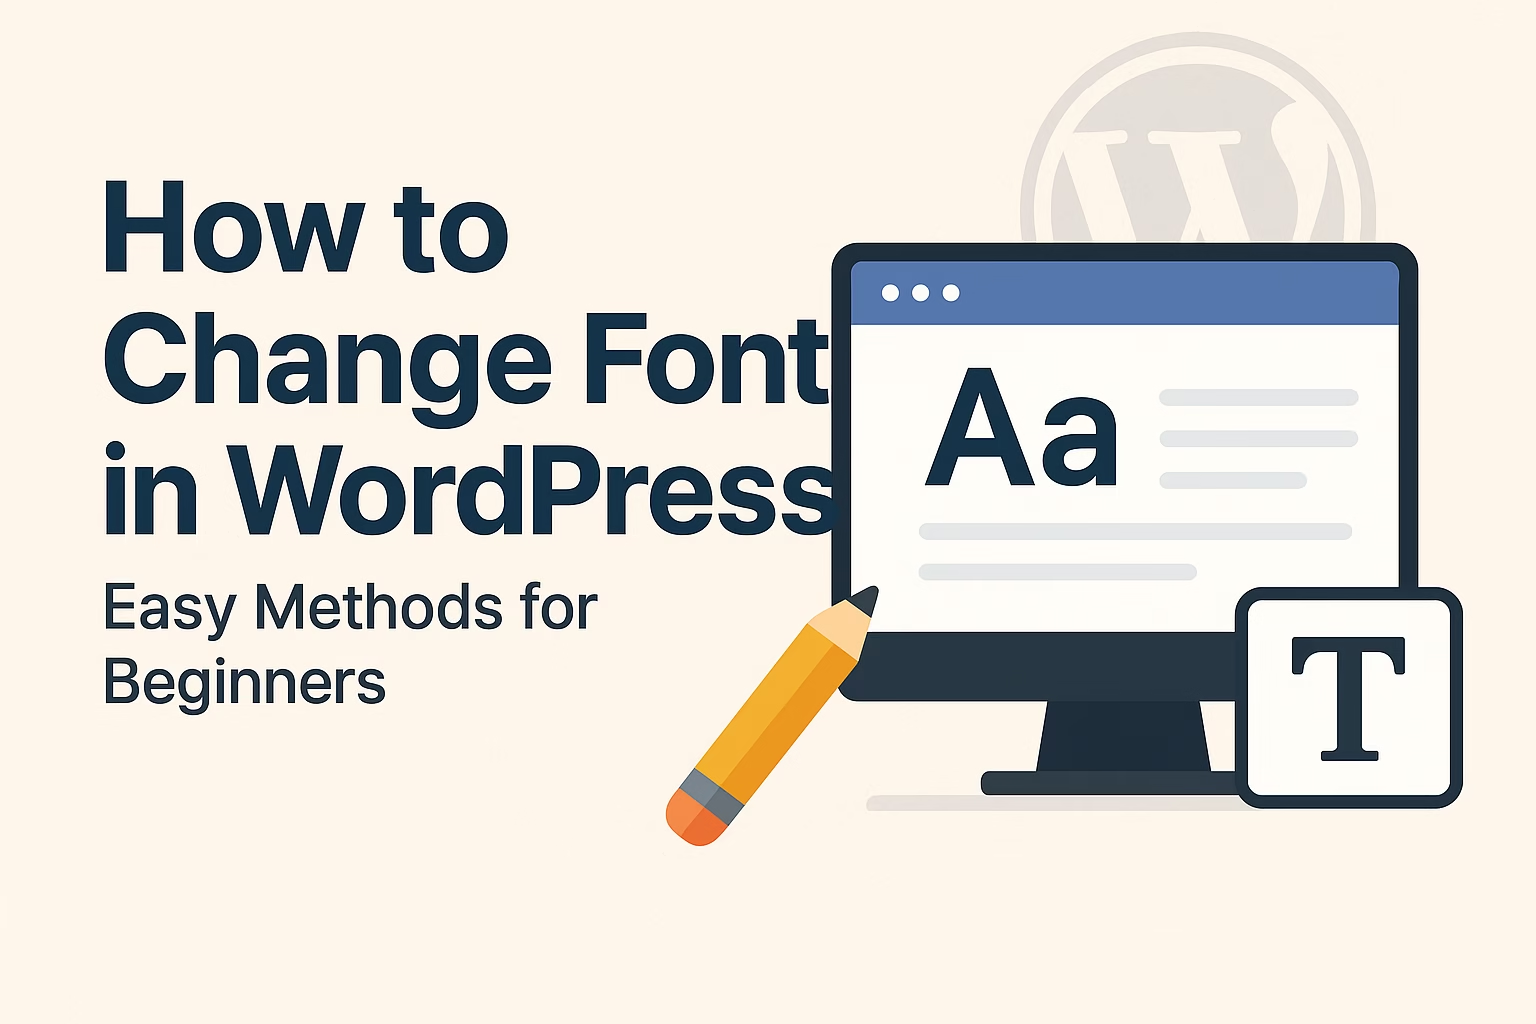
Changing the font in WordPress is one of the easiest ways to give your website a fresh and unique look. Whether you want modern typography, a professional style, or something more creative, WordPress makes it simple to update fonts using built-in theme options, plugins, or custom CSS. In this guide, you’ll learn step-by-step how to change font in WordPress so you can improve readability and match your brand style.
Why Changing Fonts in WordPress Matters
Fonts play a major role in how visitors perceive your website. The right font choice can improve readability, set the tone of your brand, and keep users engaged longer. On the other hand, poorly chosen fonts can drive visitors away, no matter how great your content or design is. Changing fonts in WordPress is not just about style — it’s about creating a user experience that aligns with your brand identity and helps you stand out online.
1. Improves Readability and User Experience
Readable fonts make it easier for visitors to digest your content. If your text is hard to read, users will likely leave your site quickly. Adjusting font size, line height, and typeface ensures your content is accessible across all devices.
2. Enhances Brand Identity
Typography is an extension of your brand’s personality. For instance, a playful brand may use rounded, casual fonts, while a professional business might stick with clean and modern typefaces. By customizing fonts in WordPress, you can reinforce your brand’s identity and create consistency across your website.
3. Increases Engagement and Retention
The right fonts can subtly influence how long visitors stay on your site. Clear, attractive typography encourages users to keep reading and exploring, which can lead to better engagement and higher conversions.
4. Boosts Accessibility
Web accessibility is crucial for reaching a wider audience. Certain fonts improve visibility for users with visual impairments or reading difficulties. Making thoughtful font choices in WordPress ensures that your content is accessible to everyone, regardless of ability.
5. Helps You Stand Out from Competitors
Many WordPress themes come with default fonts that thousands of other websites are already using. By customizing your typography, you give your website a unique look and feel that separates you from competitors in your niche.
How to Change Font in WordPress Using Theme Customizer
The WordPress Theme Customizer is one of the easiest tools for changing fonts without touching code. It allows you to preview changes in real-time, so you can test different font styles, sizes, and colors before publishing them. Whether you’re using a free or premium theme, the Customizer provides an intuitive way to update typography across your website.
1. Accessing the Theme Customizer
To start, log into your WordPress dashboard and go to Appearance → Customize. This will open the live Customizer panel, where you can make changes to your site’s design and see the results instantly.
2. Navigating to Typography Settings
Inside the Customizer, look for the Typography or Fonts option. The exact label may vary depending on your theme. Some themes give you global font controls, while others let you adjust fonts for specific elements like headings, body text, or menus.
3. Selecting a Font Style
From here, you can browse through a list of available fonts. Many modern themes integrate with Google Fonts, offering hundreds of choices. Select a font that matches your brand’s personality and maintains readability across devices.
4. Adjusting Font Size and Weight
Beyond choosing a font, you can also tweak size, weight (boldness), letter spacing, and line height. This ensures your text doesn’t just look good but is also easy to read. Always preview your changes on both desktop and mobile views.
5. Publishing Your Changes
Once you’re satisfied, click Publish to make the new typography live. Don’t forget to test your site across different browsers and devices to confirm the font displays correctly everywhere.
How to Change Font in WordPress with a Plugin
If your theme doesn’t provide enough font customization options, using a plugin is the easiest solution. Plugins give you access to hundreds of fonts, advanced styling controls, and the ability to apply different fonts to specific sections of your website — all without editing any code.
1. Installing a Font Plugin
Start by navigating to your WordPress dashboard, then go to Plugins → Add New. Search for popular font plugins such as Easy Google Fonts or Use Any Font. Install and activate the one that suits your needs.
2. Connecting Google Fonts (Optional)
Many plugins integrate directly with Google Fonts, giving you access to more than 1,400 free fonts. After activation, you can select from this library and instantly apply them to headings, paragraphs, or menus.
3. Customizing Fonts via Plugin Settings
Most plugins add a dedicated settings panel or integrate into the WordPress Customizer. From here, you can choose font styles, adjust sizes, and preview changes live. Some plugins also allow assigning different fonts to specific elements like buttons or widget areas.
4. Applying Fonts to Specific Elements
Unlike the Theme Customizer, font plugins often let you target specific CSS selectors. This means you can assign one font to your blog titles, another to the body text, and a different style for navigation menus, ensuring a unique design.
5. Publishing and Testing
After saving your changes, preview your website on desktop and mobile devices. Check consistency across different browsers to ensure the plugin fonts display correctly everywhere.
How to Change Font in WordPress Using Custom CSS
For users who want more control over their website’s typography, Custom CSS is the most flexible option. Unlike plugins or theme settings, CSS allows you to apply fonts to specific elements, override theme defaults, and fine-tune the look of your text. This approach is ideal for advanced users who are comfortable with a bit of coding.
1. Accessing the Custom CSS Panel
You can add custom CSS in multiple ways:
- Via Appearance → Customize → Additional CSS in the WordPress dashboard.
- By editing your theme’s style.css file (not recommended unless you’re using a child theme).
- Using a custom CSS plugin.
The safest method is through the Customizer or a child theme to avoid losing changes during updates.
2. Targeting Specific Elements
To apply a font, you need to target elements using CSS selectors. For example
body {
  font-family: 'Open Sans', sans-serif;
}
h1, h2, h3 {
  font-family: 'Roboto', serif;
}
3. Using Google Fonts with CSS
If you want to use Google Fonts, you’ll first need to import the font into your CSS file. For example:
@import url('https://fonts.googleapis.com/css2?family=Poppins:wght@400;600&display=swap');

body {
  font-family: 'Poppins', sans-serif;
}
4. Adjusting Font Size, Weight, and Spacing
CSS also allows you to customize text beyond font family. You can control font-size, line-height, letter-spacing, and weight to enhance readability and design consistency. Example:
p {
  font-size: 16px;
  line-height: 1.6;
  letter-spacing: 0.5px;
}
5. Testing and Debugging
After applying your custom CSS, check your website on multiple devices and browsers. Tools like Chrome DevTools can help you test changes in real-time and troubleshoot if the font isn’t displaying correctly.
Best Practices for Choosing Fonts in WordPress
Selecting the right fonts goes beyond aesthetics — it directly impacts readability, user experience, and your website’s overall professionalism. By following best practices, you can ensure your typography not only looks good but also enhances your brand identity and helps retain visitors.
1. Prioritize Readability Over Style
While decorative fonts may look appealing, they can make your content hard to read. Always choose simple, clean fonts for body text (like sans-serif) to ensure your audience can easily consume your content.
2. Limit the Number of Fonts
Using too many fonts can make your site look cluttered and inconsistent. A good rule of thumb is to stick with two to three fonts — one for headings, one for body text, and optionally one accent font for emphasis.
3. Ensure Mobile-Friendliness
Fonts that look great on desktops may appear too small or cramped on mobile devices. Test your typography across different screen sizes to ensure readability and consistency.
4. Match Fonts with Your Brand Personality
Typography is a key part of brand identity. For example, a law firm might choose a professional serif font, while a creative agency may opt for a modern or playful typeface. Choose fonts that reflect your brand’s tone and values.
5. Use Web-Safe and Fast-Loading Fonts
Not all fonts are supported on every browser or device. Stick to web-safe fonts or Google Fonts to ensure consistency. Also, avoid heavy font files that may slow down your site’s loading speed.
Final Thoughts
Changing the font in WordPress is a simple yet powerful way to give your website a unique personality and improve readability. Whether you use the built-in Customizer, a plugin, or custom CSS, you have plenty of options to make your site’s typography match your brand style. Remember to choose fonts that are easy to read, consistent across devices, and optimized for performance. With just a few adjustments, you can transform your WordPress site’s design and create a better experience for your visitors.
Need help rebuilding your layout? Contact me and I’ll help you get your site back on track.